Ever struggled with loose wire connections in your projects? We’ve all been there — putting hours into a build only to have it fail because of a bad connector. It’s super frustrating and wastes so much time.
At Promax Pogo Pin, we know this pain firsthand. Learning how to crimp connector pins right is the key to making connections that last. This guide will show you simple steps to crimp pins perfectly every time, even if you’re just starting out with general electronics.
Key Takeaways
- Strip wire to exactly 2.5 mm length for best results
- Place the pin in the right spot using a pin-guide for accuracy
- Use a crimp tool with ratchet mechanism to apply even pressure
- Check your work with a visual check and pull test
- Keep female pin facing the right way when inserting into housings
What are Pin Connectors, and Why does Crimping Matter?

Pin crimp connectors are small metal terminals that join wires to circuit boards. Crimping squeezes these connectors around bare wire strands to make a solid connection without the need to solder. This creates a tight, gas-proof seal that won’t come loose with movement or temperature changes.
Good crimping matters because it stops your cable connections from failing at the worst times. Properly crimped connections work better in places with lots of vibration, like cars or machines. They’re also faster to make than soldered joints once you get the hang of hand crimping.
Types of Crimp Pins
Different projects need different connector pins:
| Connector Type | Common Uses | Wire Gauge |
|---|---|---|
| Dupont connectors | Breadboards, Arduino forum projects | 22-28 AWG |
| JST | Battery connections, PCB mating | 24-28 AWG |
| Molex | Computer interconnect, jumper cables | 18-24 AWG |
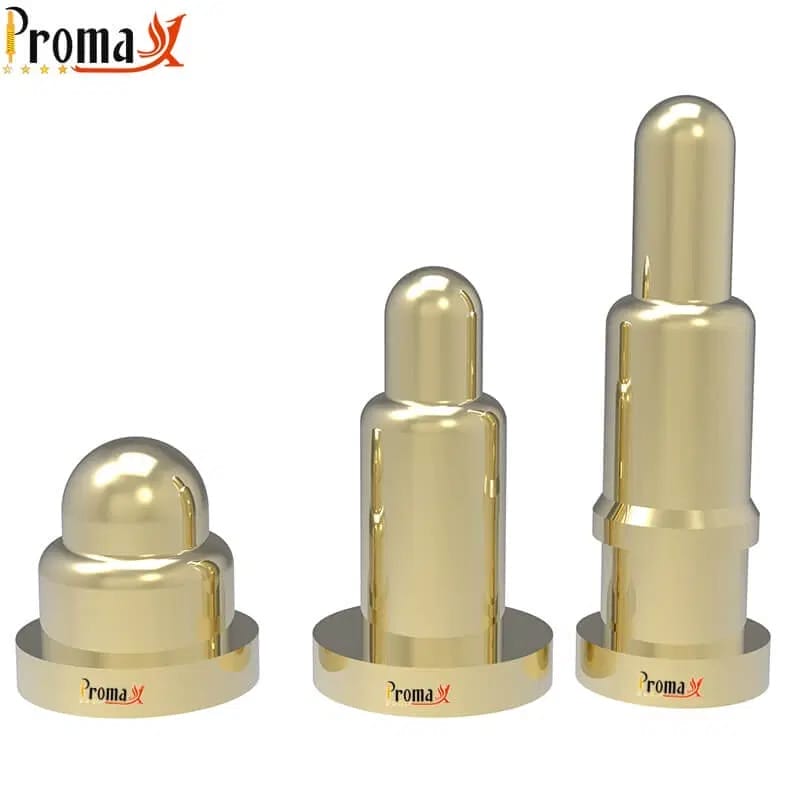
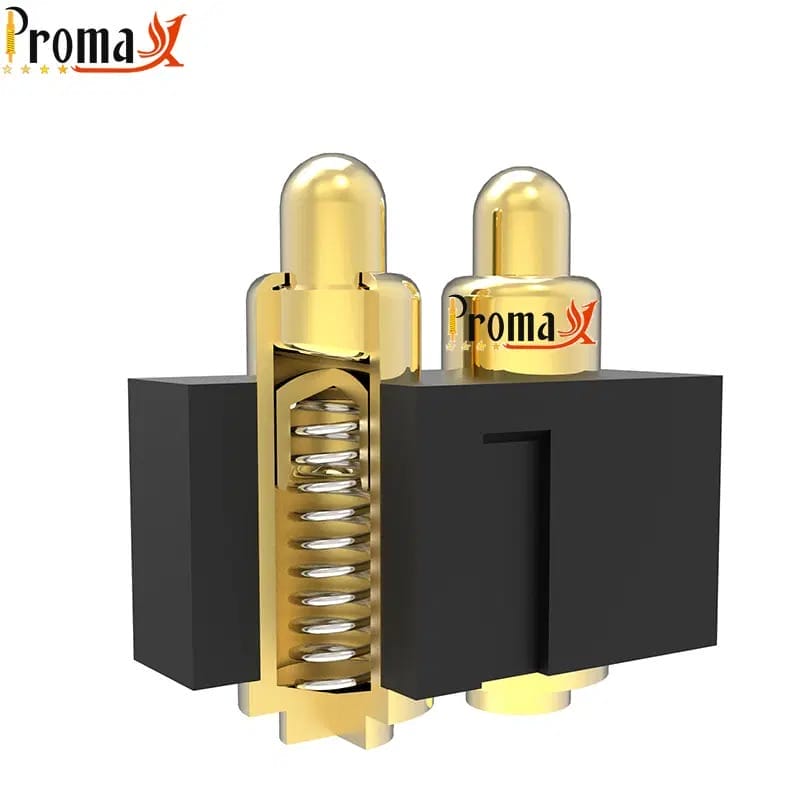
| Pogo Pin | Test fixtures, charging | Various |
What Tools do You Need for Crimping?
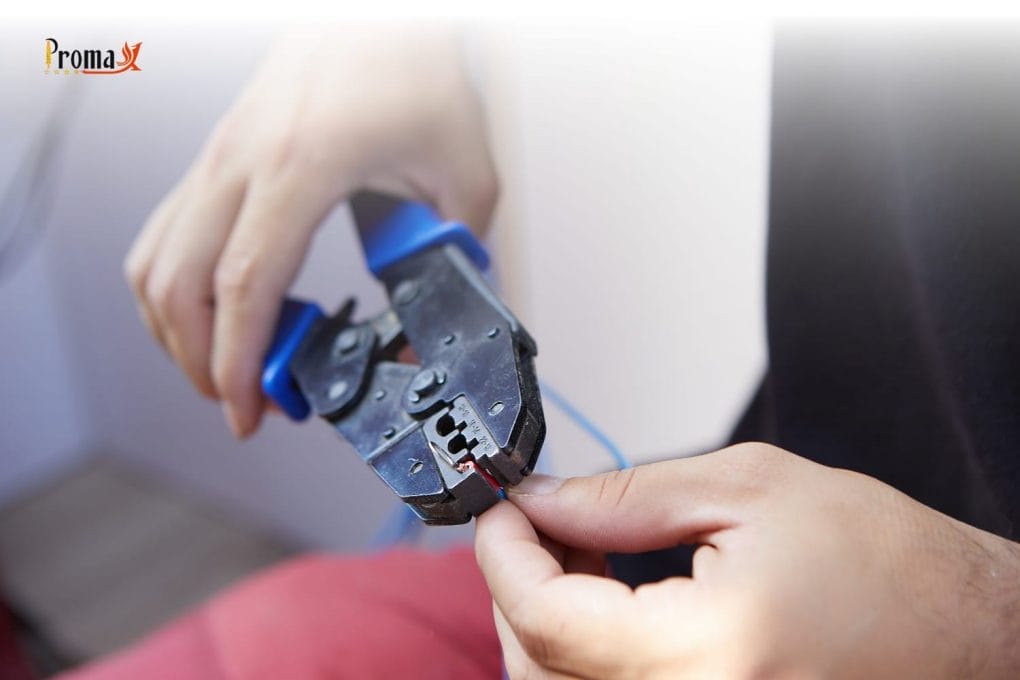
A special crimping tool is essential for squeezing connectors onto stripped wire. The best crimper for beginners is one with a ratcheting mechanism, which won’t release until the crimp is fully done. This helps you apply the right amount of pressure every time.
You’ll also need a good wire stripper that won’t damage the tiny copper strands. Look for precision wire strippers with adjustable stops so you can get the same strip length every time prior to crimping.
A pin-guide tool will boost your success rate dramatically. You can make one yourself from a header strip. This simple tool holds pins steady in the jaw while you crimp them.
Essential Crimping Tool Features
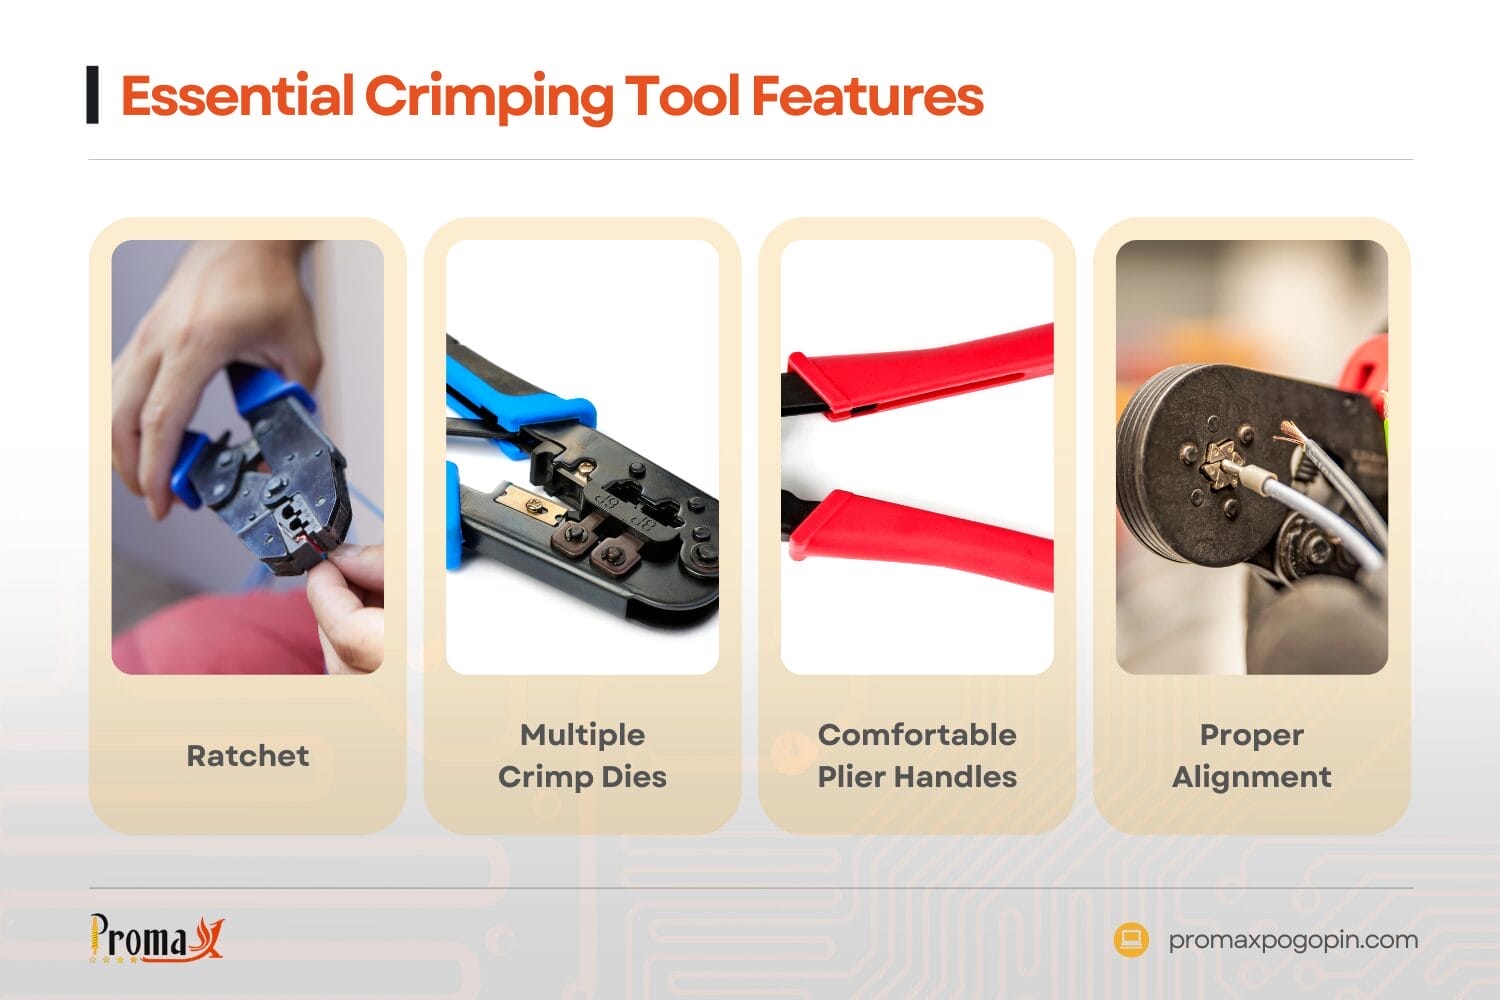
- Ratchet: Ensures complete crimping cycle
- Multiple crimp dies: Fits different terminal sizes
- Comfortable plier handles: Reduces hand fatigue
- Proper alignment: Creates even pressure distribution across crimp zones
How do You Prepare Wires for Crimping?
Wire preparation starts with picking the right conductor type. Use stranded wire (not solid) for flexibility. Digikey recommends 22-28 AWG wire, with 26 AWG being ideal for many standard connectors.
Insert the wire into your stripper and remove exactly 2.5 mm (0.1 inches) of insulation. This length is critical — too short and the wire won’t fill the connector; too long and bare wire might stick out or block the connection point.
After stripping, check the exposed copper for any cuts. Gently twist the strands together to keep them neat, but don’t twist too tightly.
The professionals say that the worldwide market for connector crimp bands is going to grow to around $4.3 billion by 2033.
Wire Preparation Steps
- Select appropriate gauge wire (stranded)
- Measure from wire end
- Strip insulation carefully without damaging conductor
- Inspect for any nicked strands
- Lightly twist to prevent fraying
Step-By-Step Crimping Process
How to Position Pins Correctly
Positioning is where most crimping failures happen. Make a simple pin-guide by cutting a carrier strip of male header pins. Place your female with the open barrel facing up.
Insert this assembly into the smallest die position of your IWISS or similar crimper. Close the tool just enough to hold the pin without fully squeezing it at the right depth.
How to Insert the Wire and Complete the Crimp
With the pin secured in the tool, get the wire into the barrel. The wire insulation should reach just to the edge of the insulation crimp section.
Squeeze the handles completely until the ratchet releases. This creates two important crimping zones: one on the conductor (conductor crimp) and one on the insulation for strain relief.
Remove the crimped connection and check your work. The terminal should be symmetrically deformed around both the strands and insulation.
Need pogo pins fast? Talk to an engineer
Get a custom quote, spec matching, and manufacturing guidance—without slowing down your project.
- ISO 9001 / 14001 / 45001 + IECQ QC080000
- 15+ years of expertise
- Free samples
- Mass production in 15–20 days
Quality Check | Is Your Crimp Good?
Visual Inspection Guide
A good crimp shows these features:
- Even deformation of the metal
- No exposed strands
- Insulation reaches the strain relief section
- No cracks in the connector
Testing Your Crimp
Always do these two simple tests:
- Pull test: Gently but firmly tug on the wire and connector
- Bend test: Flex the wire near the connection point (not excessively)
A good crimp won’t budge during testing and won’t show movement at the connection point during the bend test. You might need a microscope for inspecting smaller connectors.
Troubleshooting Common Crimping Problems
Even experts sometimes make bad crimps. Here’s how to fix common issues:
| Problem | Possible Causes | Solution |
|---|---|---|
| Wire pulls out | Insufficient pressure Wrong die | Recrimp using correct setting Ensure cycle completes |
| Damaged terminal | Over-crimping Misalignment | Use guide for alignment Apply reasonable force |
| No electrical contact | Strands not reaching crimp zone Insulation crimped with conductor | Verify placement before crimping Use proper strip length |
| Twisted connector | Pin not seated properly | Use guide to maintain orientation |
| Insulation damage | Crimping too tight | Use less pressure on insulation |
Loading Pins into Connector Housings
After crimping, pins need to be inserted into the connector housing to make complete connectors. Insert the crimped pins with the small latch facing the opening slot in the housing.
You’ll hear a slight click when the pin locks into place. Gently pull each wire to confirm pins are properly seated and locked. Consider using heat shrink for extra protection.
For ribbon cable connectors, carefully note the pin orientation in the housing to ensure proper connections when plugged in. A small screwdriver can help with adjustments if needed.
Perfect Your Projects with Promax Pogo Pin
Now you know the secrets to getting good crimped connections every time. These techniques will make your Raspberry Pi and Arduino projects more reliable. Remember that quality results start with using the connector manufacturer’s recommended tools and methods.
Ready to take your projects to the next level? Explore Promax Pogo Pin’s premium solutions, including our specialized crimp every time wire harnesses for industrial applications. Our engineering team has developed connectors designed for optimal performance even with reasonably good crimping tools. Check our datasheet for specifications!
How to Crimp Pin Connectors FAQs
What’s better — crimping or soldering for wire connections?
Crimping creates mechanical connections by squeezing metal around wire, while soldering uses melted metal to form bonds. Types of crimp connections handle vibration better, don’t need heat that might damage parts, and are faster to make once you learn how. Soldering works well for some applications but can get brittle over time with movement.
Can I use the same crimping tool for different wire sizes?
Most quality crimpers work with multiple wire sizes through different die positions. A good tool usually handles 20-28 AWG wire, but you need to use the right setting for each size. Using the wrong position either makes loose connections (too loose) or damages the wire and terminal (too tight). Needle nose pliers are not a substitute for proper crimping tools.
How do I keep my crimping tools working well?
Keep pivot points lightly oiled for smooth action. Check the jaws regularly for wear. Store tools in a dry place to prevent rust. For ratcheting crimpers, make sure the mechanism releases properly after each crimp, and adjust if needed following the tool’s instructions. Troubleshooting your technique and tools will help maintain good results.
Back to Top: How to Crimp Pin Connectors
Need pogo pins fast? Talk to an engineer
Get a custom quote, spec matching, and manufacturing guidance—without slowing down your project.
- ISO 9001 / 14001 / 45001 + IECQ QC080000
- 15+ years of expertise
- Free samples
- Mass production in 15–20 days